How to Choose the Right Gel Electrophoresis Equipment
Choosing Gel Electrophoresis Equipment is less about buying the largest system and more about matching it to your daily work. A compact horizontal tank may suit routine DNA checks, while larger gels can help when samples need greater separation. Start with the gel format, sample volume, and number of wells your protocols actually require. Count them. Then check whether the power supply supports the voltage and current ranges specified by the equipment manufacturer. A mismatch can limit performance or disrupt a familiar workflow.
Bench space matters, too. Measure the area around the tank, including room to open the lid and handle cables safely. Look for clear instructions, compatible combs and trays, and parts that are easy to replace. If several people share the system, straightforward setup can prevent small errors, such as fitting the wrong comb or running a gel in the wrong orientation. Cooling features may be useful for longer runs, but they are not essential for every application. It is easy to assume that more features mean better results; that assumption deserves a second look.
Before choosing, compare manufacturer specifications with your laboratory’s validated protocols and actual sample throughput. Check cleaning requirements, warranty terms, and whether the power supply and tank are sold together or separately. Ask experienced users what slows them down in practice. Their answers may reveal trade-offs that product descriptions leave out. No single system is right for every lab. The best choice is one that fits the work, can be operated consistently, and leaves enough room for the occasional change in protocol.
Identify Your Samples and Electrophoresis Requirements
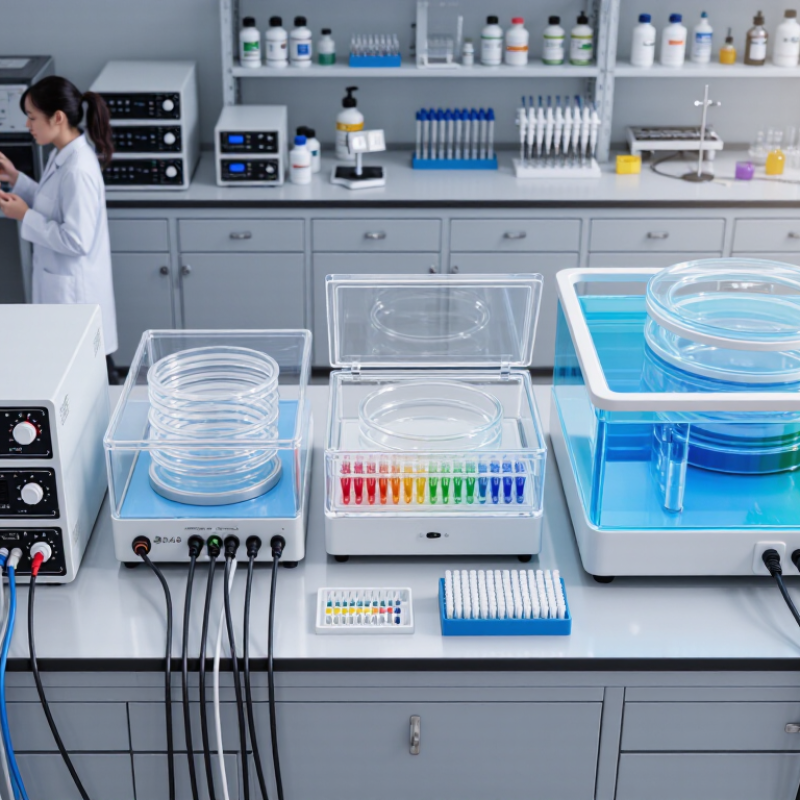
Start with the sample, not the apparatus. DNA or RNA fragment sizing usually calls for an agarose system; protein separation typically needs a polyacrylamide setup. Note the expected size range, number of samples, and whether you need a quick check or sharper band resolution. Lee et al. describe agarose concentrations from 0.7% for roughly 0.8–10 kb DNA fragments to 2% for about 0.1–2 kb fragments in Journal of Visualized Experiments (2012). Match gel concentration to the fragments you expect. Small details matter.
Then consider how the samples will behave during a run. High sample counts may call for wider trays and more wells, while heat-sensitive runs benefit from consistent buffer depth and a power supply with controllable voltage. Check the comb capacity against your sample volume; overloaded wells can blur bands and waste a run. For protein work, confirm the gel format and buffer system suit the target size and whether samples are denatured. This sounds obvious, but it is easy to overlook. Record the sample type, size range, throughput, and run frequency before comparing equipment. I’d still leave room to revise those estimates: real samples are not always as tidy as the protocol suggests.
Choose the Appropriate Gel Tank and Tray
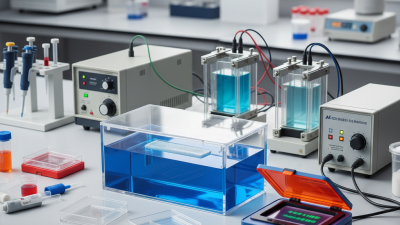
Choose a gel tank and tray that match the gel size you actually run, not just the largest format available. The tray should sit level, seal securely, and leave enough space for buffer to cover the gel. Check comb width and well count against your sample volume; narrow wells can overflow when loading a viscous sample. The tank’s electrode orientation should be easy to verify, since DNA migrates toward the positive electrode. Fit matters.
Tray length also affects how far fragments can travel before reaching the far edge. Cold Spring Harbor Protocols describes agarose concentrations across roughly 0.5% to 2%, with gel concentration chosen for the target fragment range. That range is a useful reminder: one tray and comb setup may not suit every assay. Confirm that the tank accepts the tray and comb together, and check the manufacturer’s stated buffer volume before pouring. A convenient tank can still be the wrong choice.
Tips: Place the comb near one end, leave a clear lane for the ladder, and inspect the gasket for cracks. Run a water-only fit check before preparing a gel. Small detail. I would still recheck the orientation marks; they are easy to overlook when the bench is crowded.
Match the Power Supply to Your Gel System
A power supply should fit the gel tank, not just the protocol sheet. Check the tank’s required voltage range, current draw, and connector layout before choosing one. A small horizontal agarose unit and a tall vertical gel cell can need different operating conditions. The manual is the best starting point. Small details matter.
Voltage and current limits both count. The supply must deliver the setting your gel system requires without running at its maximum capacity throughout a routine run. It is tempting to compare wattage alone; that shortcut can mislead. Also check whether the unit supports constant-voltage or constant-current operation, as specified for your apparatus. Check the limits.
Watch the setup during a test run. Excessive warmth around the buffer, unusually fast bubbling, or a run that takes far longer than expected may signal a mismatch, a poor connection, or an unsuitable setting. Stop and check the electrodes, leads, and buffer level rather than pushing ahead. Not every lab setup behaves exactly as a chart predicts. Record the settings that work with your gel size and buffer, then confirm them when the tank or protocol changes.
Compare Safety Features, Capacity, and Compatibility
How to Choose the Right Gel Electrophoresis Equipment
Compare Safety Features, Capacity, and Compatibility
A gel tank sits near buffer, cables, and sometimes a damp bench. Safety details matter. Check for a lid interlock, insulated leads, and a power supply with overcurrent protection. IEC 61010-1 sets safety requirements for laboratory electrical equipment, including protection from electric shock and foreseeable misuse. Confirm the equipment’s documentation describes these safeguards; a reassuring label alone is not enough.
Capacity should match the gels you actually run. A small tray saves buffer and bench space, while a larger one can process more samples per run. But extra wells are not useful if lanes become cramped. Current Protocols in Molecular Biology describes agarose gel runs using field strengths commonly around 5–10 V/cm; choose a power supply that can deliver the voltage your gel length requires, without forcing it to its limit. Compatibility deserves equal attention. Check tray dimensions, comb thickness, electrode spacing, buffer volume, and power-supply connectors before ordering. One easy-to-miss trade-off: a system that fits today’s gels may not fit tomorrow’s workflow. Measure the bench and the tray. Then check again.
Assess Budget, Maintenance, and Future Needs
How to Choose the Right Gel Electrophoresis Equipment
Assess Budget, Maintenance, and Future Needs
A low purchase price can hide recurring costs. Before choosing a system, list the cost of replacement electrodes, compatible trays, power supplies, and service. Check whether spare parts are available and whether routine cleaning needs special tools. A small detail matters: salt residue around electrode contacts can disrupt a run. Keep a simple maintenance log, too. It may feel tedious, but it helps reveal repeated faults.
Market growth is context, not a buying instruction. Grand View Research valued the global electrophoresis market at about US$1.1 billion in 2023 and projected 4.6% annual growth through 2030. The forecast suggests continuing demand, but it does not mean every lab needs a larger system. Consider future sample volume, gel sizes, and whether your team may need more lanes. Leave some room for change.
Operating costs deserve a closer look. The U.S. Department of Energy’s Better Buildings initiative notes that laboratories can use five to ten times more energy per square foot than office buildings. That figure covers whole facilities, not gel equipment alone; still, it supports checking power consumption and heat output. Ask for service intervals and warranty terms in writing. A spreadsheet can still mislead if staff time is left out. I would price that time, even if the estimate is imperfect.